If you skim through the SearchWatch 2023 stats report, you’ll read that SSL was set up by default on 46 million websites in 2021.
If you look at the usage statistics for 2024, 86.6% of sites are using HTTPS.
Wow – isn’t there just something huge about HTTPS and SSL? Of course, if there wasn’t, there would be no justification to those numbers.
Now, since you are here because you don’t know what exactly ‘HTTPS and SSL’ are, let’s introduce the terms.
A Short Introduction
“HTTPS” and “SSL” are technologies that tell the outside world that your website offers a secure connection.
This is meaningful for the security of your website, of course, but it also helps with your credibility among site visitors.
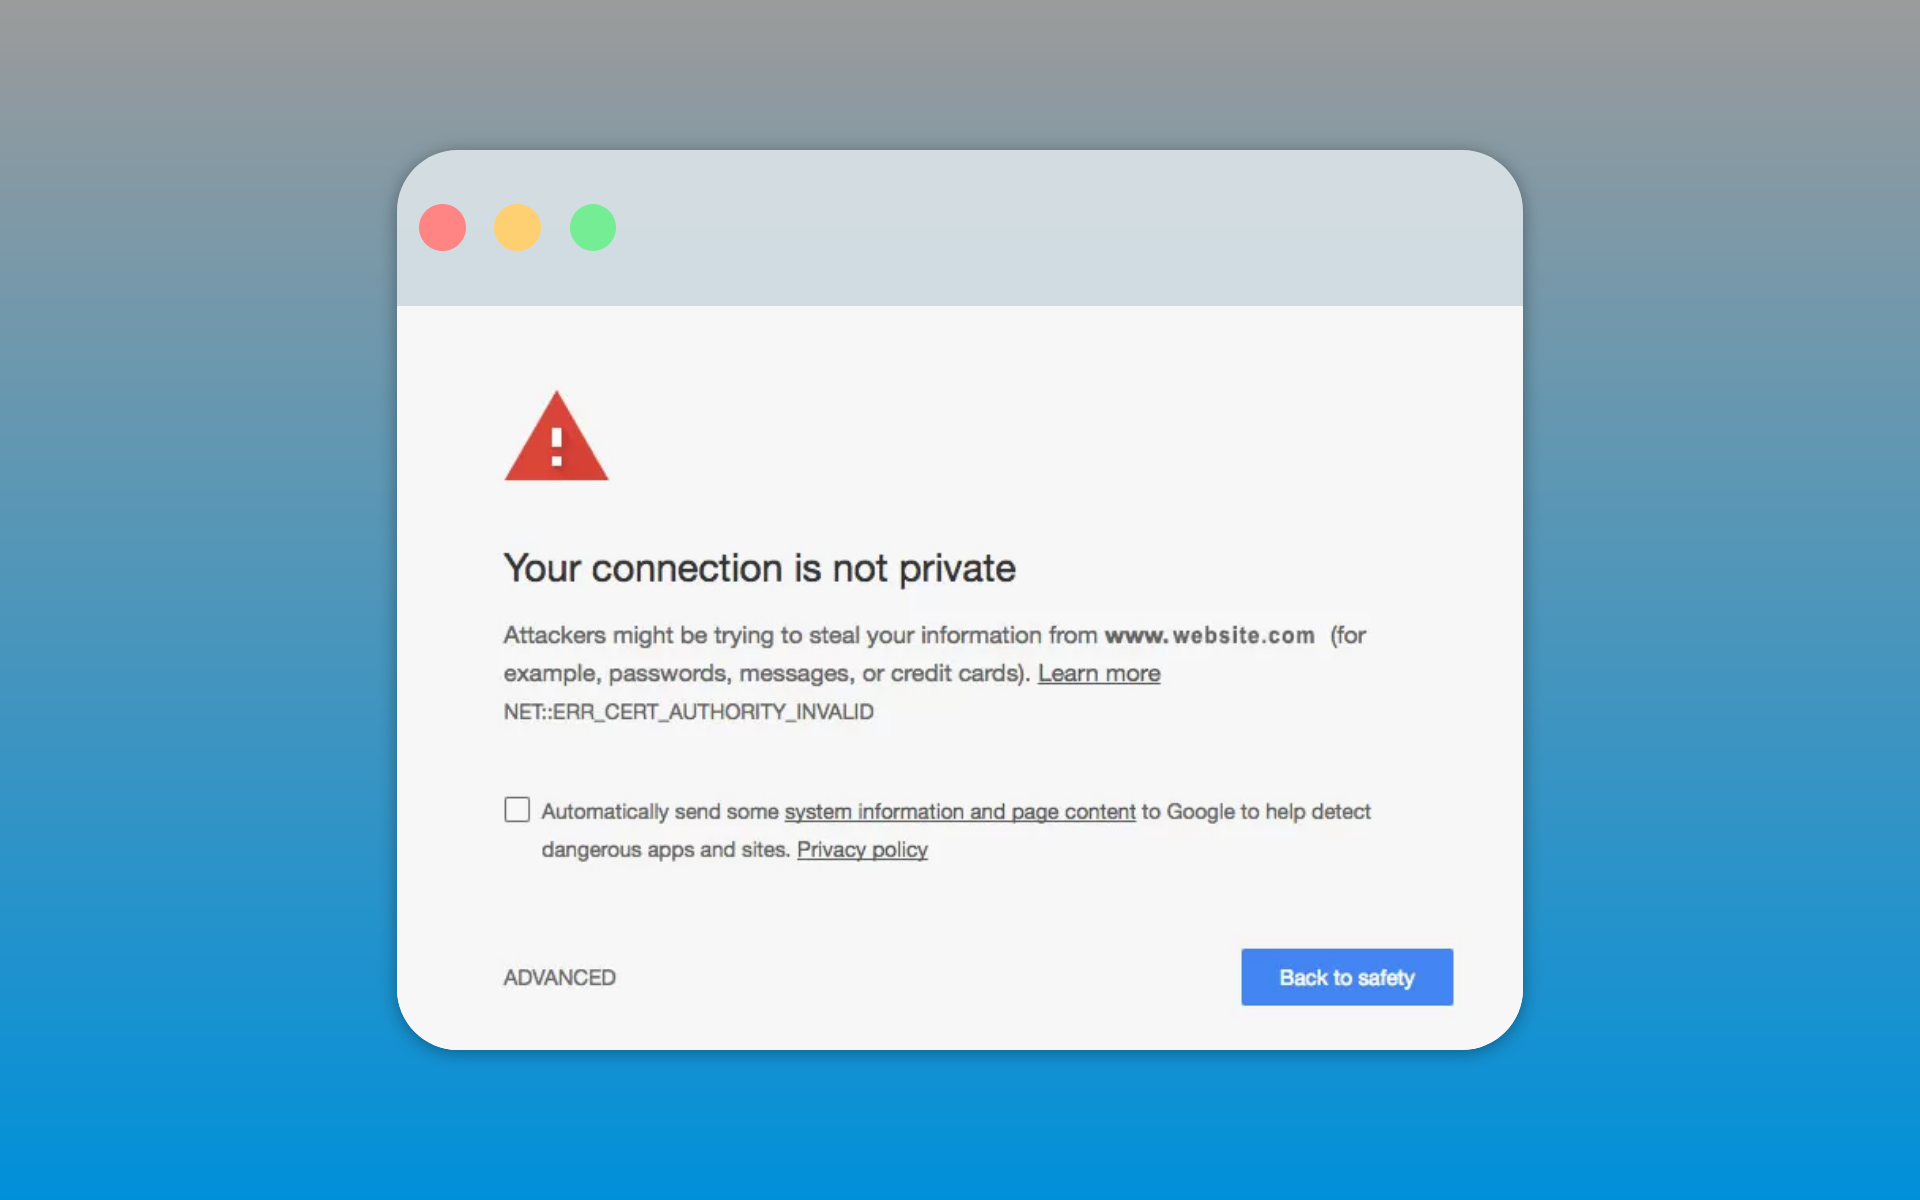
Think about it: would you hand over your credit card or phone number to a website that uses simple HTTP, which makes your data visible to an attacker?
You can see how this could influence a visitor’s decision on whether to make a purchase through your site, or sign up to your newsletter with their information.
Very well – now we are ready to look into each technology in a little more detail!

What Is HTTPS?
When you see the lock in your address bar and it says “https://” instead of the good ol’ “http://”, it means that your computer’s connection to the website is protected.

In fact, the ‘S’ in HTTPS stands for ‘Security’: this technology adds a layer between your computer and the website’s server so that no data that is being sent between the two can be seen and stolen (e.g. your passwords).
It helps to know that the principles behind HTTPS are those of the CIA triad, an acronym that stands for Confidentiality, Integrity and Availability, which are three fundamental components to data security:
- Confidentiality means that your data stays your own
- Integrity means that only you can alter it
- Availability means that your data should always remain available to you at any given time.
What Is SSL?
An SSL certificate functions as a digital public certificate, authenticating your website’s identity.
What does this mean? The owner of a website who wants it certified will give an entity called Certification Authority (CA) a series of information and a public key in exchange of a certificate (.crt file) to protect all messages sent to and received by the website’s server.
While the public key is used to encrypt messages, another key – called private key – gets installed only on the site’s server and it’s used to decrypt messages. The restriction to the site server means that it’s the only one who can read them.
On the user’s side, what happens is that your site visitors go to your site and they see that you have a valid SSL certificate, they will know they are at the right place and that no-one is trying to impersonate your site.
If you’re a marketgoo user, you know we check whether your site has an SSL certificate because it plays a part in your online visibility and site traffic – and is especially important if you sell any product or service through your website.
Why Are HTTPS and SSL so Important for SEO?
First off, because Google told us in 2014 that secure connections contribute positively to the user experience offered by a site.
Secondly, because no one in 2024 would click on a search result if the website doesn’t show any – even minimal – guarantee of security!
So basically, put this on your to-do list, as it’s a no brainer.
Now let’s see how you can install an SSL certificate on your website and thus enable HTTPS on all your website pages.
How to Install SSL on WordPress
If you use WordPress.com, there’s nothing you need to do: WordPress.com will add Let’s Encrypt SSL to your website automatically when you register your domain in your administration panel.
Conversely, if your WordPress installation is self-hosted, you have two options:
- Check with your hosting provider if they add SSL automatically to all websites
- Install the SSL certificate yourself
Whatever option you pick, you don’t have to necessarily pay for the certificate.
Did you know about the free SSL certificate Let’s Encrypt?
You can check with your hosting provider if they have it available for you in their system (for example, GreenGeeks and WebHost.Pro offer this feature).
Alternatively you can install WP Encryption plugin to automatically install and renew your certificate. As the plugin website states:
“WP Encryption plugin registers your site, verifies your domain, generates SSL certificate for your site in simple mouse clicks without the need of any technical knowledge.”
If you need more features, you can buy the Premium version of this plugin.
How to Install SSL on Wix
Only good news here: Wix automatically installs SSL for you!
The first time you publish your website with Wix, you’ll be able to see it use HTTPS immediately in the address bar. There’s nothing else you need to do.
Also, any subdomains you create in Wix will have SSL automatically applied.
While Wix comes with its own SSL certificates, it does not support third-party SSL, for which there is an ongoing request that you can vote for.
If you’re having issues with it, these instructions will help you troubleshoot.
How to Install SSL on Square/Weebly
SSL certificates come free with your Square/Weebly account when you connect your domain to the platform.
Follow this procedure if you bought the domain from Square:
- Login to Square Online and go to Website -> Domains
- Choose the domain and select Manage -> Manage domain
- Find “Destination” and select Edit site destination -> Connect to one of my current sites
- Click Save and then Publish
If you bought the domain elsewhere:
- Under Website -> Domains select Connect domain
- Write your domain name (with its extension) under “Use a domain I own elsewhere”
- Click Verify and follow the instructions
For some troubleshooting, follow this help guide by Square, which also gives you details of how the Verify instructions work.
(Note: remember that changes to the DNS can take up to 24-48 hours to propagate.)
At this point, SSL should be enabled on your website. If you run into any issues (e.g. when you visit the website it shows a connection error), there are some steps you can take:
- After you login to Square/Weebly, click Edit Website
- Go to General Settings and click Unpublish
- Click Publish
This will “reset” your website settings.
Also, sometimes it might be an error on your visitors’ end, especially if they are using mobile. In that case, suggest that they use the steps listed on this page to solve the issue.
For anything else, we recommend using the Square/Weebly Community Forums.
How to Install SSL on Squarespace
Squarespace adds SSL to your domain or subdomain automatically when you configure it correctly:
- If you registered your domain with Squarespace, point it to a Squarespace site (new or existing) by going to your Domains panel (read this tutorial if you want to buy a domain through Squarespace)
- If you registered your domain elsewhere, go to Domains panel -> Use a Domain I Own, type your domain name (with its extension) in “Enter Domain” and click Connect Domain. For more, follow this guide.
To learn more about how Squarespace handles SSL and check your certificate or settings, we invite you to read this Squarespace Help article (with video).
How to Install SSL Manually in cPanel
Okay, let’s get techy now, although the whole process is actually as easy as copy/pasting text.
Step 1. Generate a CSR code
You do this in your cPanel, in the Security section, under SSL/TLS.
Follow these steps:
- Under SSL/TLS, click on “Generate, view, or delete SSL certificate signing requests” below Certificate Signing Requests (CSR)
- Fill out the certificate details form that appears on the page (“Generate a New Certificate Signing Request (CSR)”)
- Click “Generate”.
Below is a screenshot showing the form that appears on the CSR page:
All done! Now proceed on with step 2.
Step 2. Choose an SSL provider
That can be a popular one like Comodo SSL or the free Let’s Encrypt*.
Purchase your certificate and download the compressed pack that’s generally sent to you by email (e.g. CAbundle.zip) and unpack it on your computer.
Step 3. Installation
Next, follow the steps below:
- In your cPanel account, go to Security -> SSL/TLS
- Click “Manage SSL sites” under INSTALL AND MANAGE SSL FOR YOUR SITE (HTTPS)
- Fill out the “Install an SSL Website” form details: select your domain from the menu, open the uncompressed folder your SSL provider gave you, open your certificate (.CRT file) in a text editor (e.g. Notepad) and copy the long string of characters between –BEGIN CERTIFICATE— and –END CERTIFICATE—. Paste this string into the “Certificate: (CRT)” text area
- Now, click the “Autofill by Certificate” button the appears on the right side of the page
- Click the “Install Certificate” button at the bottom.
And you’re done! 😀
For more details, including video and screenshots, you can refer to this guide by SSLs.com.
* Some website owners are unsure when choosing between a free certificate from Let’s Encrypt and a paid certificate.
It really depends on your particular needs, the level of validation you want, and your preferences regarding support and additional features.
For many websites, Let’s Encrypt provides a practical and secure solution. For businesses with specific requirements, a paid certificate from a reputable CA may be more suitable.
Managing multiple SSL Certificates and Renewals
For web professionals and agencies managing multiple websites for clients, keeping track of SSL certificate expiration dates across many domains can be a big of a challenge. Multiple site management tools like WP Umbrella can help streamline the process.
Here’s to a more secure web!


